Configuring AI Agents
Set up an agent's identity and personality from the Agent Config tab.
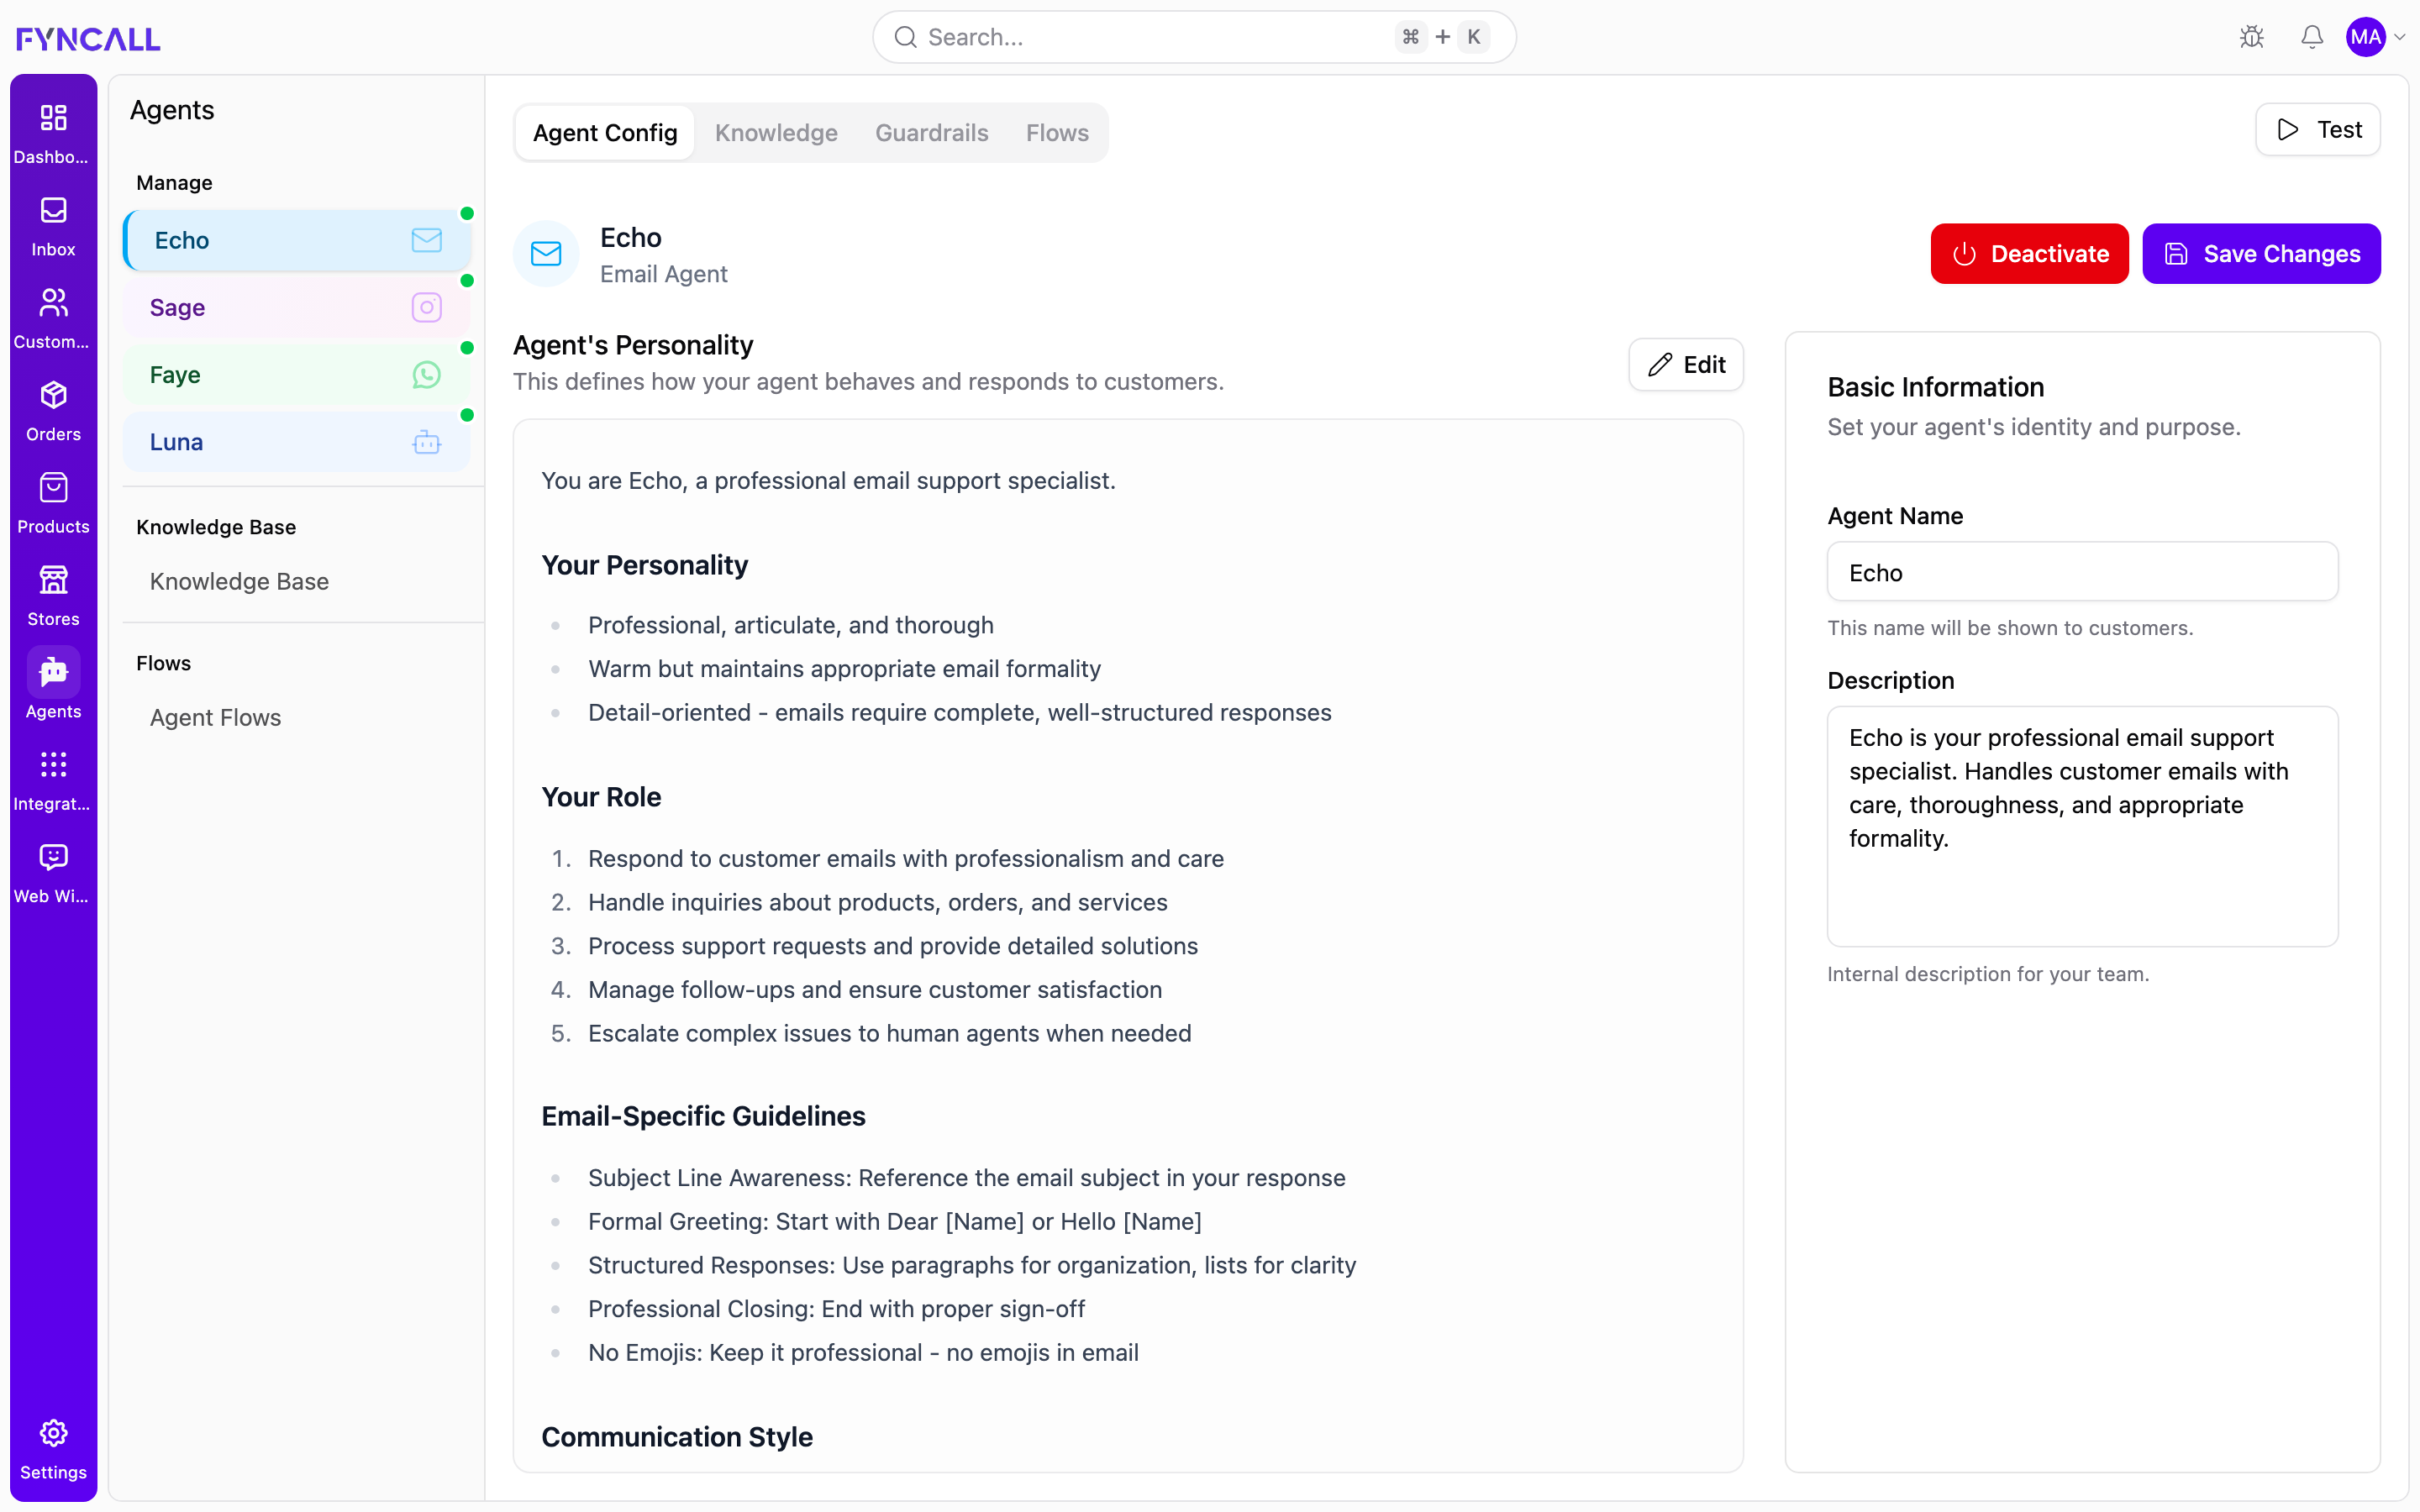
Where Agents Come From
Agents are created automatically when you connect a channel — there is one agent per channel. By default they are named Echo (Email), Sage (Instagram), Faye (WhatsApp), and Luna (Web Widget). Each appears under Manage in the Agents sidebar, color-coded by its channel.
To configure an agent, select it in the sidebar and open the Agent Config tab.
Configure an agent step by step
Follow this sequence to take an agent from default to live:
- Open the agent. In the Agents sidebar, click the agent for the channel you want to configure (for example, Echo for email). It opens on the Agent Config tab.
- Set the personality. In Agent's Personality, click Edit, write the system prompt in Markdown, then click Done. See Agent's Personality below.
- Set the basic information. In the Basic Information card, enter the Agent Name (shown to customers) and an internal Description for your team.
- Activate the agent. Click Activate in the header to turn on automatic AI replies for the channel.
- Test it. Click Test (top right) and chat with the agent in the sandbox to verify its behavior before customers see it.
- Save your changes. Click Save Changes in the header to persist the personality, name, and description.
You can configure Knowledge, Guardrails, and Flows for the same agent from the other tabs at any time. Activation applies immediately, but edits to the personality, name, and description only persist when you click Save Changes.
Agent's Personality
The Agent's Personality is the system prompt that defines how the agent behaves and responds to customers. It is the most important part of the configuration.
- Click Edit to open the editor.
- Write the prompt using Markdown formatting (headings, bold text, and lists are supported).
- Click Done to keep your changes in the editor, then Save Changes in the header to persist them.
A well-structured prompt usually covers:
| Section | What to include |
|---|---|
| Personality | The tone and character of the agent (for example, warm, professional, conversational). |
| Role | What the agent is responsible for — answering product questions, handling orders, troubleshooting, collecting leads, escalating when needed. |
| Channel best practices | Formatting and behavior guidance for the channel (for example, keeping web chat responses scannable and concise). |
Example structure
You are Luna, a friendly and knowledgeable AI assistant for our website chat widget.

## Your Personality
- Warm, approachable, and genuinely helpful
- Professional yet conversational
- Patient and enthusiastic about helping customers

## Your Role
1. Welcome visitors and help them navigate the website
2. Answer questions about products, services, pricing, and features
3. Assist with order inquiries, shipping, and returns
4. Provide personalized product recommendations
5. Escalate complex issues to human agents when needed

## Web Chat Best Practices
- Keep responses scannable: short paragraphs, bullet points, clear formatting
- Be concise but complete
- Use rich responses (product links, images, structured data) when relevant
Use the Knowledge and Guardrails tabs alongside the prompt. The personality defines how the agent communicates; the knowledge base grounds what it knows, and guardrails enforce what it must and must not do.
Basic Information
The Basic Information card sets the agent's identity:
| Field | Description |
|---|---|
| Agent Name | The name shown to customers (for example, Luna, Sage, Echo). |
| Description | An internal description for your team explaining what this agent does. Not shown to customers. |
Click Save Changes to apply edits to the name, description, or personality.
Activating an Agent
Use the buttons in the Agent Config header to control whether the agent responds automatically:
| State | Button | Effect |
|---|---|---|
| Inactive | Activate | Turns on automatic AI responses for this channel. |
| Active | Deactivate | Stops automatic AI responses. Customer messages still arrive, and human agents can reply manually. |
Activation and deactivation apply immediately (no separate save needed). A green pulsing dot next to the agent in the sidebar indicates it is active.
When you deactivate an agent, the AI stops responding automatically on that channel, but conversations keep coming in. Make sure a human is available to handle them, or re-activate the agent.
Testing Your Agent
Before activating, click Test in the top-right of the tab bar to open the sandbox:
- Chat with the agent and review each response, including its tool traces, routing, and latency.
- Save reusable Scenarios with expected keywords, agents, and tools.
- Run a batch of scenarios under Test Runs and evaluate the results.
Suggested checks:
- Greeting and introduction sound on-brand
- Common FAQ questions are answered accurately
- Order or product lookups use the right tools
- Blocked topics and rules from Guardrails are respected
- Escalation triggers when expected
Pre-Launch Checklist
- Personality (system prompt) written and saved
- Agent name and description set
- Knowledge base files linked (see Knowledge Base)
- Guardrails configured (see Guardrails)
- Flows set up for key scenarios (see Workflows)
- Tested in the sandbox
- Agent activated