Web Widget
The Web Widget is the chat bubble that lives on your website. From the Web Widget menu in the sidebar you can switch it on, design how it looks, set up proactive messages and forms, review what visitors submit, and grab the code snippet to install it — all without writing any code.
This page covers the no-code widget manager built into your dashboard. If you're a developer looking for the embed snippet, JavaScript API, or advanced theming, see the Widget SDK → Installation docs instead. The two work together: you design the widget here, then install it using the embed code.
How to activate the widget
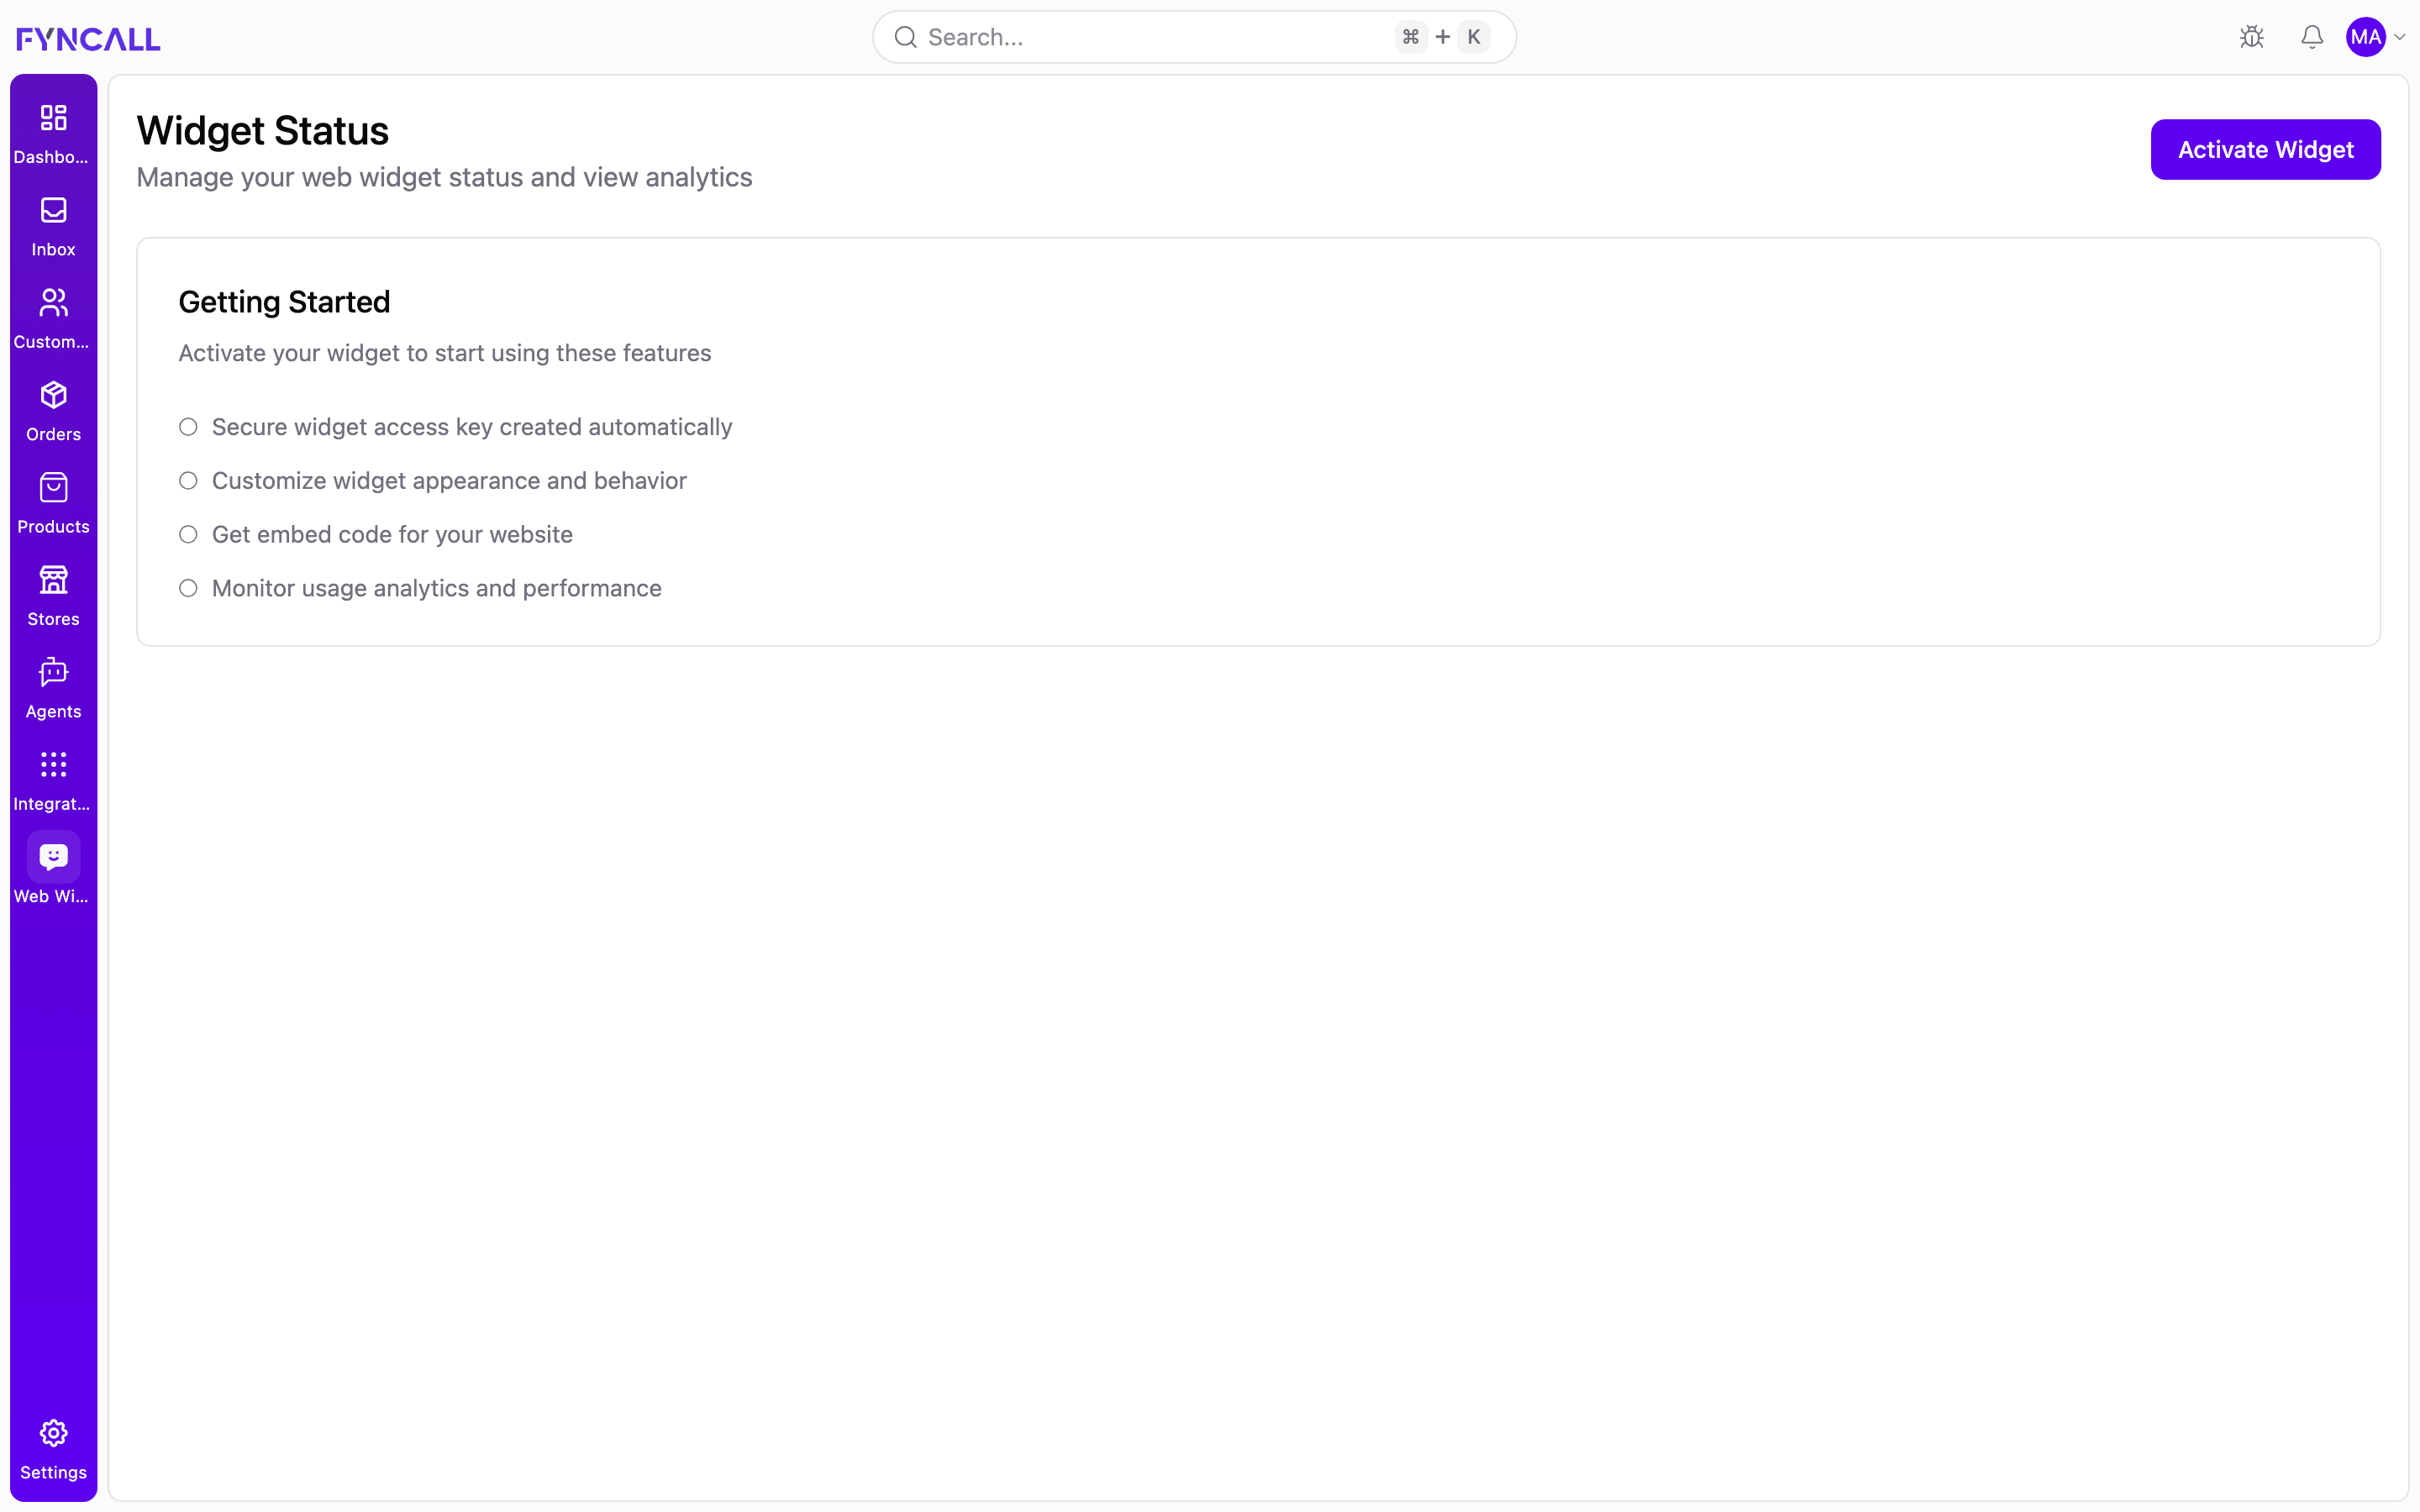
The first time you open Web Widget, you'll see a setup screen with a Getting Started card. Activation creates a secure access key, unlocks customization, generates your embed code, and turns on usage analytics.
- In the sidebar, open Web Widget.
- Read the Getting Started card so you know what activation does.
- Click Activate Widget (top right).
- Wait for activation to finish. The full management workspace appears and an install dialog opens automatically.
Activation only switches the widget on in Fyncall. It won't appear on your site until you add the embed code — see How to install the widget on your website.
The connected web agent (Luna)
Activating the Web Widget automatically creates and connects a web AI agent named Luna. Luna is tuned for website chat — she gives short, scannable answers and can help visitors with product questions, order support, and lead collection, and hand off to a human when needed.
You don't have to set Luna up separately:
- She is enabled when you activate the widget.
- She is paused when you deactivate it.
- Replies sent through the widget appear under Luna's name.
To adjust her knowledge, behavior, or escalation rules, open the Agents area.
The Manage workspace
Once the widget is active, the Web Widget menu shows a left-hand list of sections under Manage:
| Section | What you do there |
|---|---|
| Widget Status | See whether the widget is active, view usage stats, and run a connection test |
| Widget Studio | Design the widget — branding, colors, launcher, and screens. See Appearance & Branding |
| Engagement | Set up proactive messages, pre-chat forms, and surveys. See Engagement & Forms |
| Responses | Review form submissions and survey feedback from visitors |
| Embed Code | Get the code snippet to install the widget |
How to check widget status
The Widget Status page is your control panel for the widget itself.
- Open Web Widget → Widget Status.
- Check the status badge — it reads Active or Inactive and shows the date the widget was activated.
- Review the three usage cards: Total Sessions, Total Messages, and Total API Calls, plus the last activity time.
- To turn the widget off, click Deactivate (top right) and confirm. The widget stops working on your website until you reactivate it.
How to run a connection test
- On the Widget Status page, find the Connection Test section.
- (Optional) Enter a test domain, for example
https://example.com. - Click Test Connection.
- Read the result — Fyncall reports whether the test succeeded or failed so you can confirm everything is wired up correctly.
How to review visitor responses
The Responses section collects everything visitors submit through the widget — pre-chat form entries and post-chat survey feedback.
- Open Web Widget → Responses.
- Review the summary cards at the top: Form Submissions, Survey Responses, Average Rating, and a Last 7 Days total.
- Search by name, email, or visitor to find a specific entry.
- Filter by response type — form submissions, survey feedback, or both.
- Open a card to see the visitor's details, their form answers, and any rating or written feedback they left.
How to install the widget on your website
- Open Web Widget → Embed Code.
- If your store runs on Shopify, inject the widget directly from this screen.
- For every other platform — plain HTML, WordPress, Google Tag Manager, React, Vue, and more — copy the snippet.
- Follow the step-by-step guide in Widget SDK → Installation to add it to your site.
For security, the widget only loads on domains you've approved. Add your website to the allowed list in your widget security settings, as described in the installation guide.
Next steps
- Appearance & Branding — brand the widget, pick colors, and design the home and chat screens.
- Engagement & Forms — proactively greet visitors and collect information and feedback.
- Widget SDK → Installation — add the widget to any website.